The packaging journal — Process guide
From Ideato Production:A Custom Packaging Guide for Growing Brands
A practical route from an incomplete idea to a clear specification, approved sample and production-ready order.
By Foldelle Packaging · · 12 min read
Follow the process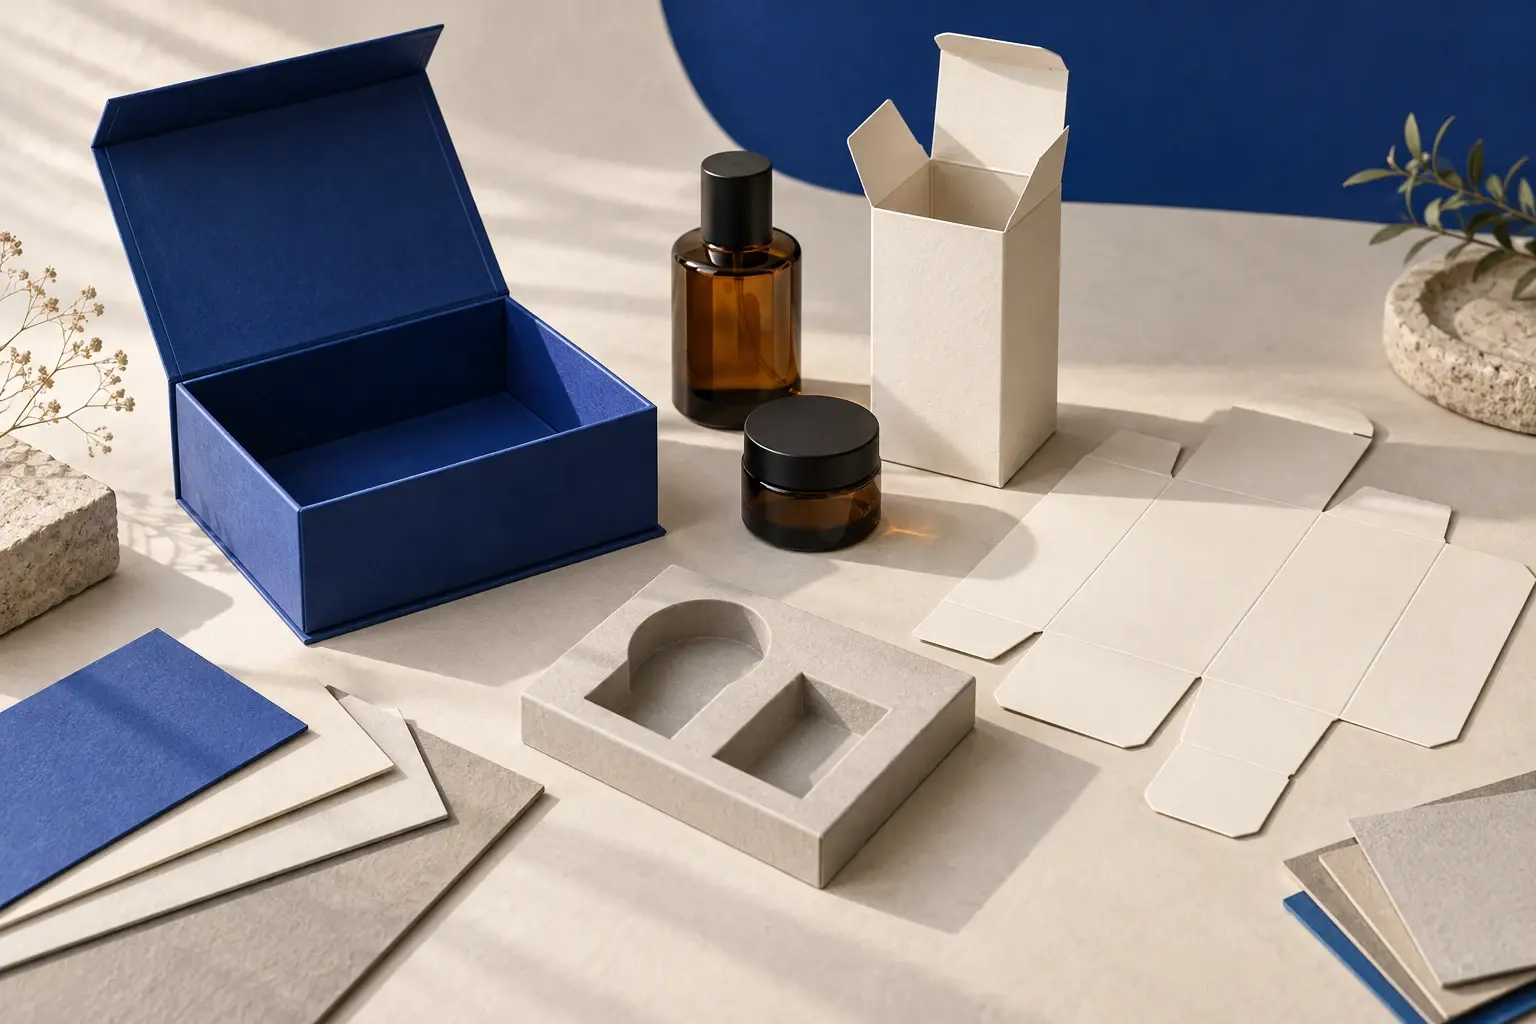
Begin with what is known
A packaging idea does not need to arrive fully formed.
Many projects start with a product, a reference image and a general feeling: “premium,” “giftable” or “ready for ecommerce.” That is enough to begin a useful conversation, but not enough for an accurate production quote. A supplier still needs to understand the product, quantity, structure, dimensions, materials, decoration, packing method and destination.
A structured process turns those unknowns into decisions in the right order. It reduces unnecessary artwork revisions, prevents a beautiful box from fitting poorly and gives sampling, production and delivery a shared specification. The goal is not to know every technical term; it is to make each open question visible before it becomes a cost or delay.
01 / The useful starting point
Start with the product, not the box
Record the product’s maximum length, width and height, its weight and anything fragile, sharp, leak-prone or easily marked. A fragrance bottle may need support around the shoulders without loading the cap. Jewelry may need controlled movement and a surface that will not scratch. A glass cosmetic jar may need a different insert and shipping system from a lightweight accessory.
Then describe how the packaging will be used. A retail carton must communicate on shelf and fit the replenishment process. A direct-to-consumer pack has to survive its parcel journey, sometimes inside a separate shipping box. Gift packaging prioritizes the reveal and how the product sits after opening. The desired customer experience matters, but it must sit beside the practical journey: filling, closing, storing, shipping, opening and disposal.
02 / Match form to use
Choose the right packaging structure
Use structure to solve the product journey. Style and finishing come after that decision.
Folding cartons
Lightweight paperboard cartons are useful for many retail products, including beauty, fragrance and small accessories. They can offer strong printed communication and efficient storage before filling. Confirm closure style, loading direction and whether an insert is needed.
Explore folding cartons →Rigid boxes
A paper-wrapped board structure creates substantial walls and a deliberate presentation. It suits jewelry, gift sets and higher-value products when the opening experience justifies additional material, assembly and transport volume.
Explore rigid boxes →Mailer boxes
Mailer formats can combine an ecommerce reveal with practical packing. The presentation pack is not automatically a complete shipping solution, so assess closure, movement, outer protection and the actual distribution route.
Explore mailer boxes →Paper bags and supporting packaging
Bags, sleeves, tissue and inserts extend the system across retail, gifting and events. Define which elements are essential so colors, materials and details feel consistent without adding components that do not earn their place.
Explore paper bags →03 / Fit before footprint
Define the correct internal size
Product dimensions are not box dimensions. The internal size must allow for the insert, tissue, protective clearance and a realistic packing tolerance. The external size then depends on board thickness and construction. State whether every measurement is product, internal pack or external pack; a simple label prevents expensive assumptions.
Oversized packaging uses more board, creates extra empty space and may increase storage and shipping volume. A box that is too tight can damage finishes, distort panels or make packing inconsistent. Where geometry is complex, send a physical product sample or an accurate model and identify any parts that vary between batches. Test the fit with the intended insert and packing materials—not the product alone.
- Product size
- The maximum real dimensions, including caps, closures and protrusions.
- Internal size
- The usable space after inserts, wraps and protective allowance.
- External size
- The finished footprint used for cases, storage and freight planning.
04 / Performance meets appearance
Select materials for the actual job
Choose paperboard thickness and rigidity around product weight, panel size, structure and handling—not by copying a competitor’s specification. Coated papers can provide a controlled printing surface; uncoated and specialty papers can add tactile character but may reproduce ink and fine detail differently. Wrapped rigid board, folding paperboard and corrugated material all behave differently at edges, folds and creases.
Inserts may use paperboard, molded fiber, foam or another material suited to the product. Consider retention, removal, contact surfaces, packing labor and end-of-use separation. Before selecting a stock, ask what the structure must support, how the surface will print, what finish is compatible, whether a physical paper sample is available and how the finished pack will be assessed.
Avoid broad environmental claims that the documented materials and disposal route cannot support. “Paper-based” does not automatically mean plastic-free, recyclable everywhere or lower impact. Ask for the material composition and make only claims your evidence and target-market guidance support. Our materials and finishes overview is a useful vocabulary starter.
05 / Control the visual system
Decide on printing and finishing
CMYK builds color from four process inks and works well for images and multi-color graphics. A specified spot-color system can be useful when a critical brand color needs a dedicated reference. Neither guarantees an identical result across screens, papers, coatings and production methods; approve the relevant proof and sample.
Offset printing is commonly considered for repeat production and controlled reproduction, while digital printing can be useful for prototypes or some shorter runs. Suitability depends on the format, material, equipment and quantity. Matte or gloss laminations and coatings change both appearance and surface behavior. Foil stamping, embossing, debossing and spot UV add a separate process, setup and inspection point.
Every finish should have a job: recognition, hierarchy, tactile feedback or durability. More processes can increase unit cost, setup, minimum quantities or production time, and they create more tolerances to approve. Ask the supplier which combinations are practical on the chosen stock before finalizing artwork.
06 / Make the file buildable
Turn artwork into a production-ready file
A dieline maps cut edges, folds, glue areas and panels. Apply artwork to the supplier-approved version and keep its scale and geometry unchanged. Extend backgrounds through the required bleed, keep important text and logos inside safe areas, and check how panels meet when the pack is erected.
Review logo position on the formed pack, not only the flat file. Small type, fine reversed text and finish registration may need adjustment. Confirm the intended color mode, linked or embedded images, image resolution, font handling and which elements receive foil, embossing or spot coating. Name files by version so the approved artwork cannot be confused with an earlier draft.
A digital preview is a useful geometry and content check before sampling. It can reveal an upside-down panel or misplaced logo, but it cannot prove real color, texture, fold quality or finish alignment. Treat it as one approval step, not a substitute for the physical sample.
- Dieline: correct version, scale and structure.
- Print: bleed, safe areas, colors, fonts and images checked.
- Finishes: separate, clearly named layers with practical placement.
- Preview: inspect every panel in the erected orientation.
07 / Approve in stages
Confirm a sample before mass production
Structural sample
Confirm shape and fit
Use an unprinted or digitally cut sample to check dimensions, insert retention, opening sequence, product removal and packing work. It is the efficient place to change geometry.
Printed sample
Confirm the presentation
Use a printed sample to assess paper, color direction, artwork position, finish scale and the complete reveal. Confirm how closely the sample process represents mass production.
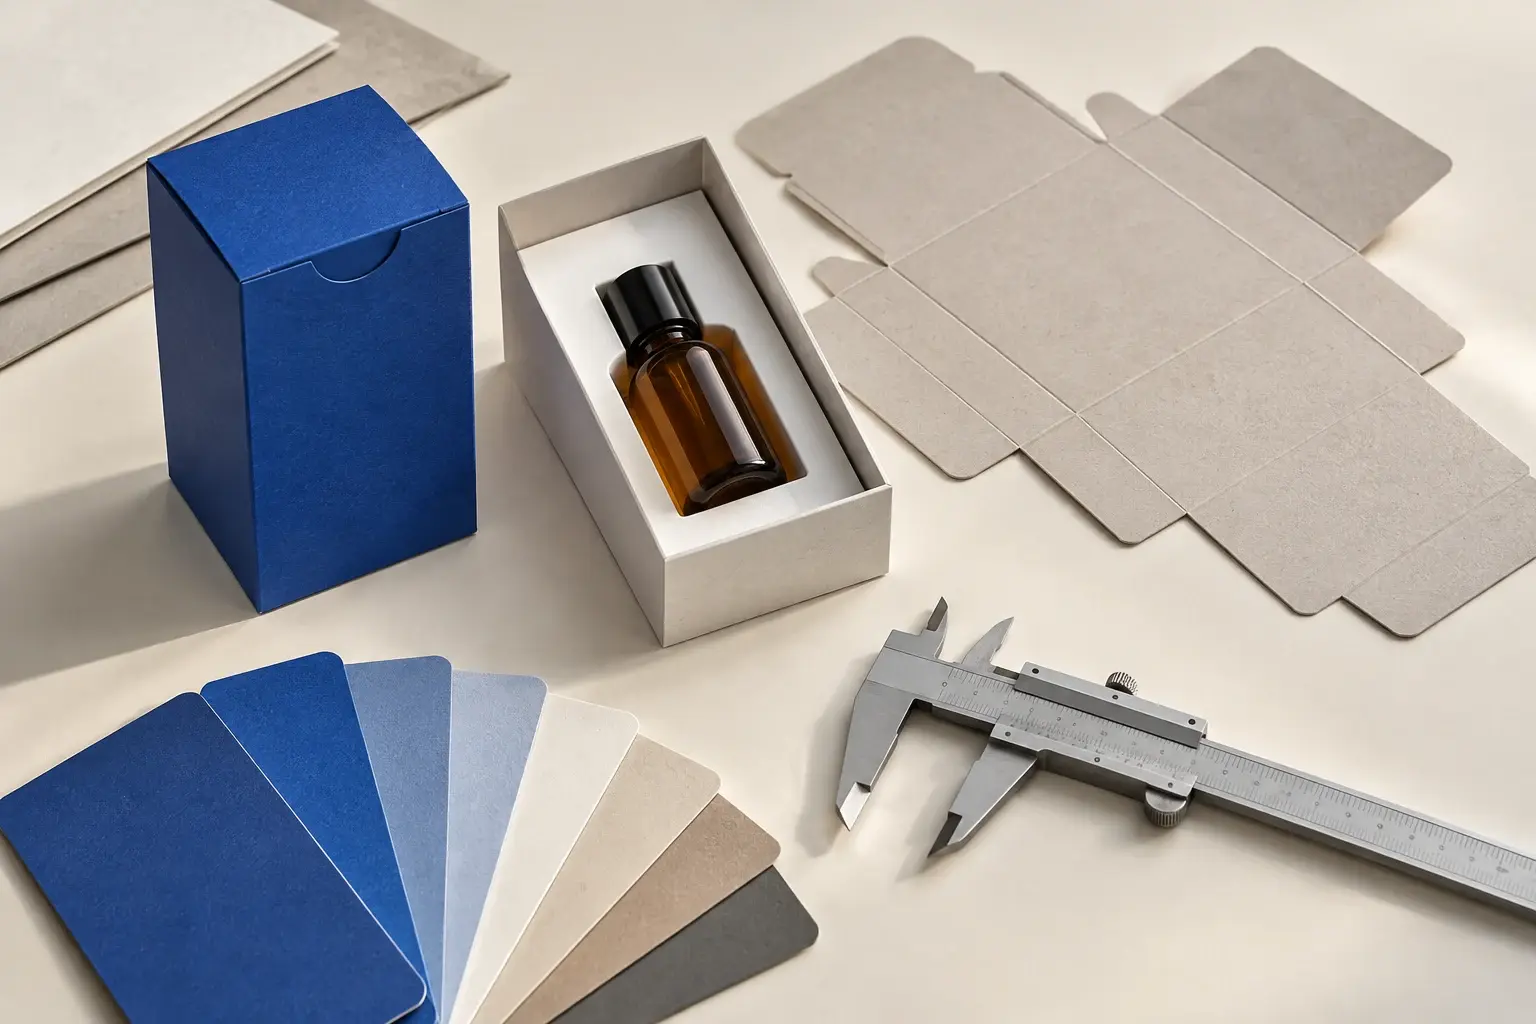
Handle the sample as a customer and as a packer. Measure key dimensions, load the real product, open and close it repeatedly, inspect colors in consistent light and look at edges, corners, folds and finish registration. Photograph and record the approved sample, specification, artwork version and any accepted deviations. “Approved” should point to a defined control set, not a message buried in a chat.
08 / Define acceptance
Prepare for production and quality inspection
Before production, consolidate the structure, internal and external dimensions, materials, print references, finishes, insert, quantity, packing method, artwork version and approved sample into one final specification sheet. Identify acceptable tolerances for dimensions, color, registration, construction and appearance where relevant. Not every natural material variation is a defect, so clarify what will be measured and what visual range is acceptable.
An inspection plan should cover printing, finish placement, adhesion, folds, corners, closures, insert fit and basic function using an agreed sampling approach. Also verify pieces per inner pack or bundle, quantities per export carton, carton labeling, case dimensions and gross weight. These details affect receiving and freight as much as production.
09 / Work backward from arrival
Plan international delivery early
Estimate packed volume and shipping weight while the structure is still flexible. Conventional rigid boxes may occupy their finished volume; folding cartons and some collapsible formats may ship flatter but require forming at the packing site. Ask for export-carton dimensions, quantities and weights before choosing a freight plan.
Air delivery is generally considered when speed, smaller volume or launch timing matters. Sea freight is usually considered for larger volumes when the schedule can absorb the longer route. The useful decision compares the complete shipment, arrival requirement and inventory plan—not the box unit price alone.
Finished packaging still needs protection from compression, rubbing and moisture during transit. Confirm bundle wrapping, dividers, export-carton strength and pallet requirements where applicable. Build the schedule backward through delivery, inspection, production, sample approval, artwork and structural development, leaving room for a realistic revision rather than assuming every first version will be approved.
10 / Copy into your enquiry
Custom packaging checklist for growing brands
Fill what you know. Mark the rest “open” and ask the supplier to state any assumptions.
- Product dimensions and weight
- Packaging type
- Required quantity
- Internal and external box dimensions
- Material and thickness
- Printing colors and references
- Surface finishes
- Insert requirements
- Artwork files and version
- Structural or printed sample requirements
- Delivery country, address type and required date
11 / From open questions to a control set
How Foldelle® supports the process
Foldelle can help clarify an incomplete packaging idea, turn product and channel requirements into defined specifications, and prepare production previews before a physical sample is approved. The process can cover structural and printed samples, production coordination, quality inspection and international delivery planning.
Share your target quantity so Foldelle can assess suitable structures and production options. Minimum order quantities are confirmed for each specification. Size, materials, print method, finishing and production route still determine what is practical. Sharing your target quantity early lets the structure and decoration be developed around a realistic order.
- 01Clarify
Separate confirmed needs from open decisions.
- 02Define
Build the structure, material and artwork control set.
- 03Approve
Review previews and the right physical sample.
- 04Coordinate
Connect production, inspection and delivery.
12 / Before you start
Frequently asked questions
What information do I need to request a custom packaging quote?
Start with product dimensions and weight, packaging type, target quantity, delivery country and timing. Add preferred materials, colors, finishes and insert needs where known. Mark undecided items as open instead of guessing.
Do I need finished artwork before asking for help?
No. A supplier can discuss structure, size and materials before final artwork exists. Production artwork should only be prepared after the dieline and specification are stable.
Should I order a structural sample or a printed sample?
Use a structural sample first when fit, opening and insert performance are still uncertain. Add a printed sample when color, paper, finish placement and the complete presentation need physical approval.
How long does custom packaging take?
There is no responsible universal lead time. Timing depends on structure, materials, finish complexity, sample rounds, quantity, production capacity, inspection and delivery method. Build a dated plan from the required arrival date and confirm each stage with the supplier.
Can a growing brand place a small first order?
Minimum order quantities depend on the structure, size, artwork, materials, finishes and production route. Share your target quantity so Foldelle can assess feasibility and quote for your specification.